The sourdough journey is a rewarding one, filled with the aroma of freshly baked bread and the satisfaction of creating something truly artisan. However, it also comes with a common delightful "dilemma": what to do with all that sourdough discard? For many busy bakers, the thought of yet another long, complex sourdough process can be daunting. Fear not! There’s a secret weapon in your baking arsenal: the simple sourdough discard toasting bread. This isn't just another way to use up your discard; it's a gateway to delicious, no-fuss bread that perfectly fits into a hectic schedule, delivering a soft yet sturdy loaf ideal for everything from morning toast to hearty sandwiches.
Imagine a bread that carries a subtle tang and depth of flavor from your beloved starter, yet requires minimal hands-on time and no advanced sourdough skills. That’s precisely what this recipe offers. It’s an easy, approachable method designed to transform that bubbly byproduct into a staple loaf your family will adore, making it a perfect solution for reducing kitchen waste while indulging in homemade goodness.
Embrace the Discard: Your Secret Ingredient for Quick Bread
Sourdough discard, often seen as a byproduct, is in fact a treasure trove of flavor and potential. It's the unfed portion of your sourdough starter, typically removed before feeding to maintain the starter's vitality. While it doesn't possess the full leavening power of an active starter, it brings a wonderful acidity and complexity to baked goods without the need for long fermentation periods. This makes it an ideal ingredient for recipes that also incorporate a small amount of commercial yeast.
Using discard in bread recipes is not just about reducing waste; it's about infusing a subtle, sophisticated tang that elevates the final product. For this particular recipe, the discard contributes depth of flavor, creating a loaf that's far more interesting than a standard quick bread, yet still incredibly straightforward to make. It's a "cheat code" for getting that artisanal sourdough essence into a weeknight-friendly loaf, proving that delightful bread doesn't always demand endless hours or complicated techniques.
The Genius Behind Simple Sourdough Discard Toasting Bread
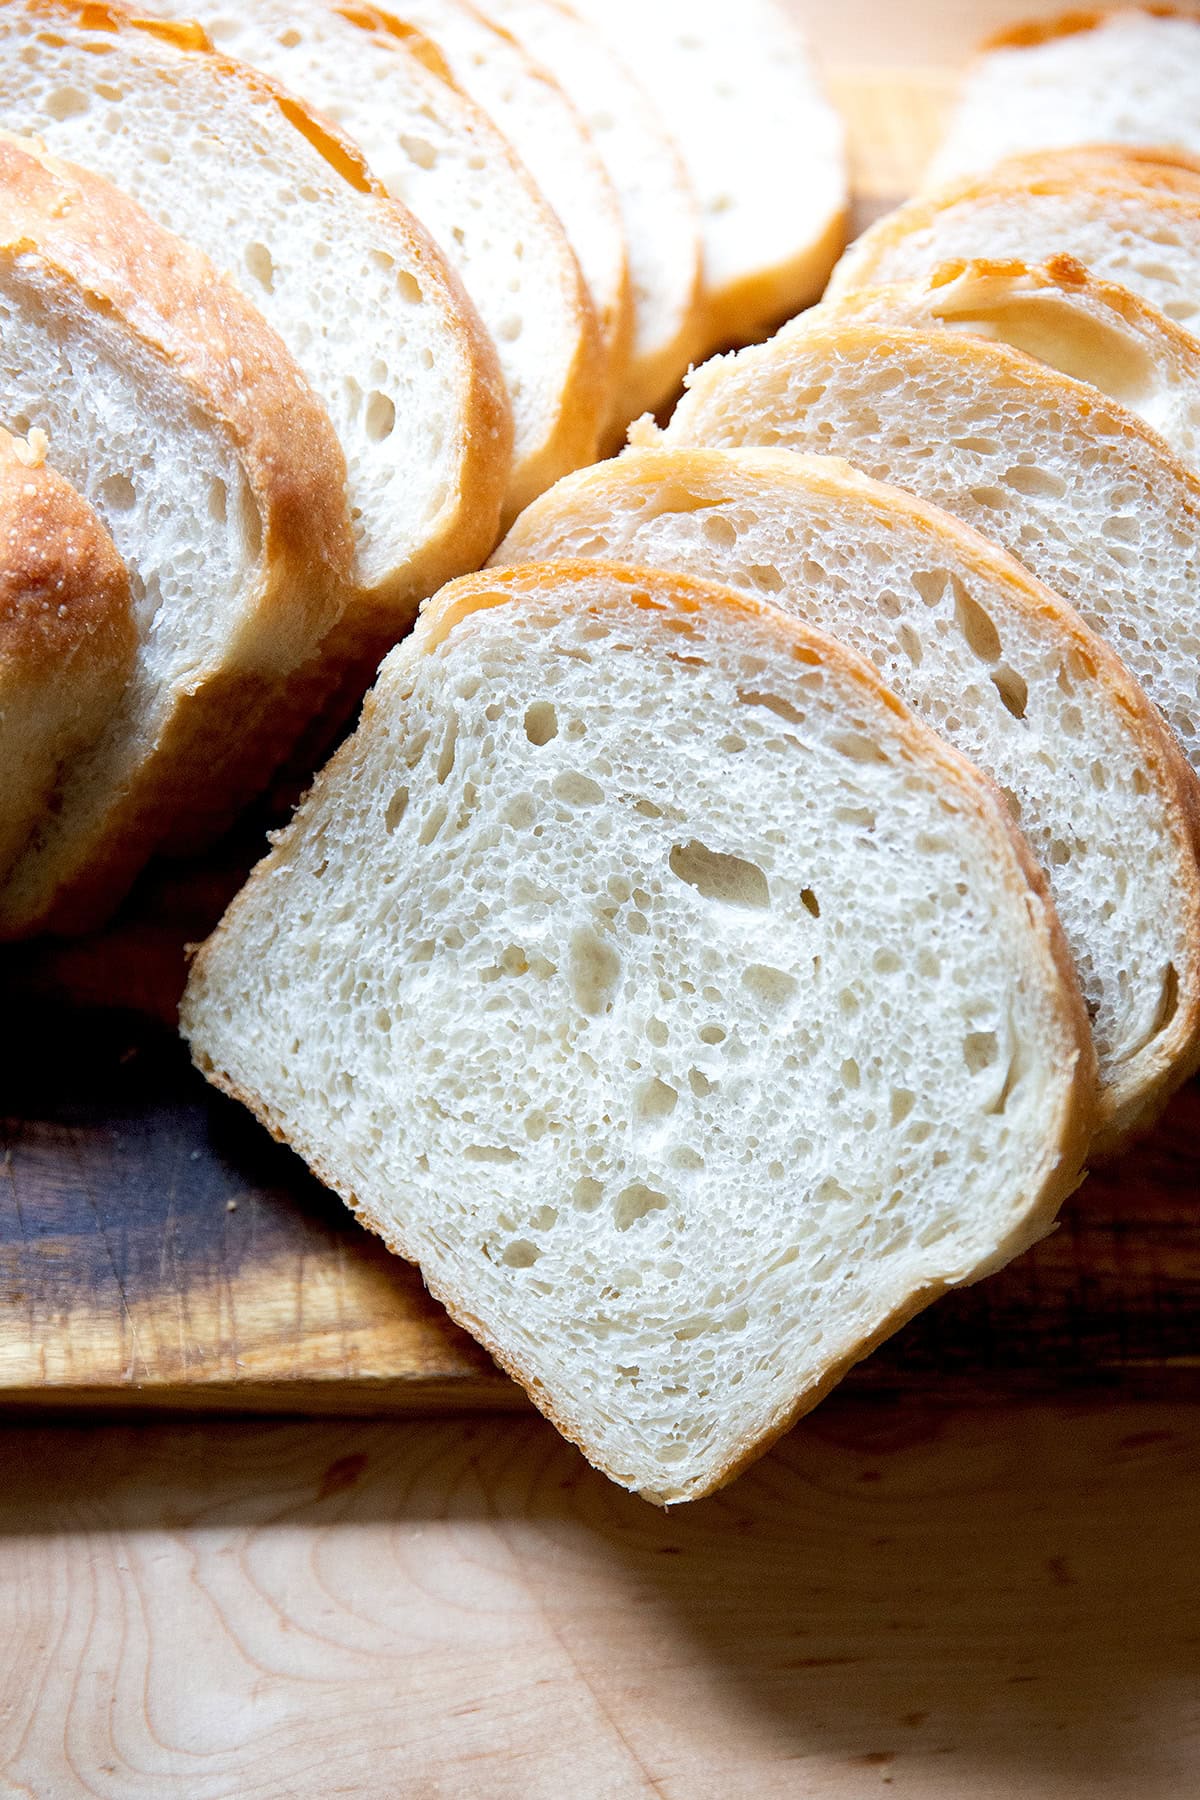
What sets this specific recipe apart as the ultimate simple sourdough discard toasting bread? Its brilliance lies in its simplicity and versatility. Unlike some richer sandwich bread recipes that call for ingredients like milk and melted butter, this no-fuss loaf relies on humble water alone, keeping the ingredient list short and sweet. The result is a bread that is soft and inviting, yet sturdy enough to hold up to generous toppings and make the perfect slice of toast. It's the kind of bread that quickly becomes a kitchen workhorse.
An optional, but highly recommended, addition is a touch of honey. This isn't just for sweetness; honey plays several crucial roles: it lends a subtle, appealing flavor, promotes a beautiful golden-brown crust during baking, and contributes to the bread's soft, tender crumb. If you prefer, a different sweetener can be used, or it can be omitted entirely for an even more rustic profile. This adaptability makes it a perfect canvas for your family's preferences.
This bread is a true chameleon in the kitchen. Freshly baked, it's an excellent candidate for sandwiches – from simple cheese and ham to more elaborate fillings. But its true calling shines when it's lightly toasted, developing a delicate crispness on the outside while remaining wonderfully soft within. It's the ultimate vehicle for butter, jam, avocado, or anything your breakfast or snack cravings desire. For more versatile sourdough discard recipes perfect for toast and sandwiches, explore our comprehensive guide: Easy Sourdough Discard Bread: Your Go-To for Toast & Sandwiches.
Step-by-Step: Crafting Your No-Fuss Loaf
Creating this delicious loaf is remarkably straightforward, requiring minimal active time thanks to the magic of instant yeast and smart techniques like stretch and folds. Here's a breakdown of the process:
Gather Your Essentials
You'll need a handful of basic ingredients:
- All-purpose flour: The foundation of your loaf.
- Water: The primary liquid, keeping the recipe lean and simple.
- Salt: Essential for flavor and controlling yeast activity.
- Sourdough discard: Your secret ingredient for tang and depth. Aim for a discard that's 100% hydration (equal parts flour and water).
- Instant yeast: The key to a quick rise without a lengthy bulk fermentation.
- Honey (optional): For subtle sweetness, browning, and softness.
The Mixing Magic
In a large bowl, you'll begin by combining the water, honey (if using), salt, and instant yeast. Give it a good stir to ensure the salt and honey dissolve. Then, introduce your sourdough discard, stirring until it's fully incorporated. Finally, add the flour. Stir everything together until you have a cohesive, wet, and rather sticky dough ball. Don't worry about developing gluten at this stage – simply ensure all ingredients are well combined. Cover your bowl and let the dough rest for a crucial 30 minutes. This autolyse period allows the flour to fully hydrate and gluten development to begin passively, setting the stage for an excellent texture.
Gentle Gluten Development: Stretch & Folds
After the initial rest, it's time for some gentle gluten development. Instead of vigorous kneading, this recipe employs a series of stretch and folds. With a wet hand (to prevent sticking), gently pull a portion of the dough from the side of the bowl, stretch it upwards, and fold it over to the center. Rotate the bowl and repeat this action several times, working your way around the dough. This simple technique builds strength and elasticity in the dough without the effort of traditional kneading. Repeat this process a few times over the course of the first rise, if desired, but even one series can make a significant difference.
The Rise to Perfection
Once your stretches and folds are complete, cover the bowl again and let the dough rise until it has visibly doubled in volume. The exact time will vary based on your kitchen's temperature and the vitality of your discard and yeast, but typically it takes 1-2 hours. Once risen, gently deflate the dough using a flexible bowl scraper, pulling it from the sides of the bowl into the center. Turn the dough out onto a lightly floured work surface and gently roll it into a tight coil, creating a loaf shape. Drizzle the shaped loaf lightly with olive oil and rub to coat – this helps prevent a dry crust and adds a lovely flavor. Place the dough into a greased loaf pan.
Let the dough rise again in the loaf pan until it beautifully crowns the rim. This second rise is crucial for the final loaf's texture and volume.
Baking and Cooling: The Final Touches
Preheat your oven to 375ºF (190ºC). Bake the loaf for approximately 45 minutes, or until it's deeply golden brown and sounds hollow when tapped on the bottom. Once baked, immediately turn the bread out onto a cooling rack. This step is critical! While it might be tempting to slice into a warm loaf, letting it cool for at least 30 minutes (preferably longer) allows the internal structure to set, preventing a gummy texture and ensuring perfect slices. For a more detailed walkthrough and visual guidance, refer to How to Make Simple Sourdough Discard Toasting Bread, Step by Step.
Tips for Sourdough Discard Bread Success
- Know Your Discard: While the recipe is forgiving, using a discard that's roughly 100% hydration (equal parts flour and water by weight) will give the most consistent results. If your discard is very thick, you might need to add a touch more water to the dough.
- Don't Skimp on Cooling: Seriously, resist the urge to slice too early! Cooling is just as important as baking for the bread's texture.
- Freezing for Future Feasts: This bread freezes beautifully. Once completely cool, slice the loaf and store the slices in an airtight freezer bag. You can then pull out individual slices and toast them directly from frozen for a quick treat.
- Customize Your Loaf: Feel free to experiment! Add a tablespoon or two of sesame seeds, poppy seeds, or even dried herbs like rosemary or thyme to the dough for an extra layer of flavor and texture.
- Bread Machine Bliss: For the ultimate hands-off approach, some recipes for sourdough discard bread can even be adapted for a bread machine. Simply add the liquid ingredients (including discard and water/oil), then the dry ingredients, and set it to a basic or white bread cycle. This truly automates the process for busy bakers seeking convenience.
Embracing the world of sourdough discard doesn't have to mean diving into complex, multi-day bakes. This simple sourdough discard toasting bread recipe is a testament to how easily you can transform your discard into a truly delicious, soft, and sturdy loaf that's perfect for toast, sandwiches, or simply enjoying with a smear of butter. It’s a rewarding way to bake, to reduce food waste, and to always have fresh, homemade bread on hand, even on the busiest of days. Give it a try, and discover the joy of no-fuss sourdough!
